# Front end: Netlify hosting
Netlify (opens new window) is a (free) webhosting service for static websites. It makes it super easy for developers to deploy and host a website securely.
Netlify has built-in DNS management and free SSL certificates and you can fully automate your deployment process with GitHub. Netlify continuously monitors your (main) branch and deploys a new version every time this branch is changed.
Due to security rules in Netlify, monitoring your project's GitHub repository is not possible. However, there is a workaround using GitHub actions which we will set up.
TIPS
You can use Netlify for every static website that you make during the next years (e.g. Angular course, React course, personal projects, ...). Netlify is also interesting for your graduation portfolio at the end of your studies at Thomas More.
With the free & Starter version (opens new window) you get:
- unlimited websites
- 100GB bandwidth each month
- 300 build minutes each month
- 100 form submissions per site per month
# Setting up Netlify
- Go to netlify.com (opens new window) and Sign up with your GitHub account.
- Go to Sites and create a Add a new site (Deploy manually).

- Create a folder website with an index.html file in it on your computer with basic layout (emmet
! + TAB). - Drag and drop this website folder in your browser window. Netlify will now publish this folder.
(Netlify will automatically publish the folder and provide you with a live URL.)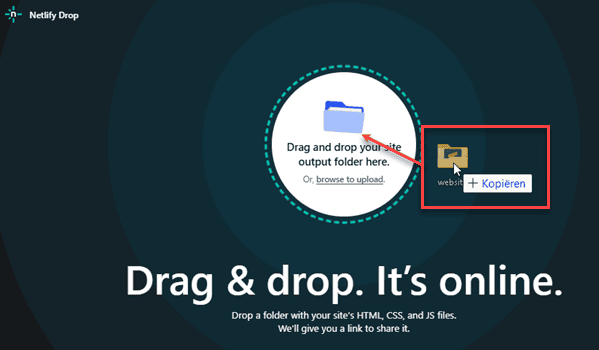
To make sure we can automatically deploy our site, we need the site ID and an authorization token. These credentials allow GitHub Actions to authenticate with Netlify and deploy your site automatically.
- Open your site configuration.
- Copy your
Site ID, you will need this later to configure your GitHub Actions.
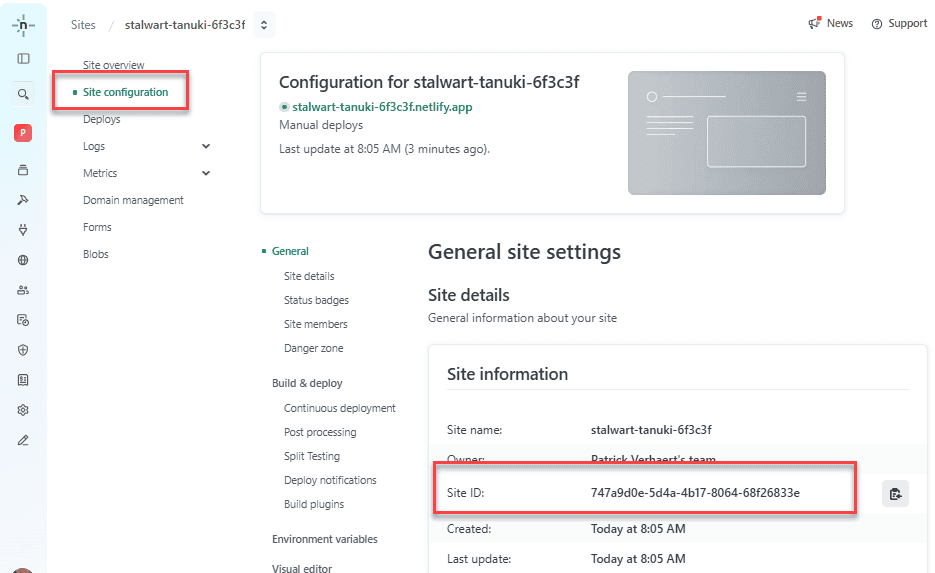
- Open a new notepad file and save your
Site IDas a variableNETLIFY_SITE_ID.
NETLIFY_SITE_ID=your-site-id
- Now go to your own user settings and open the Applications tab:
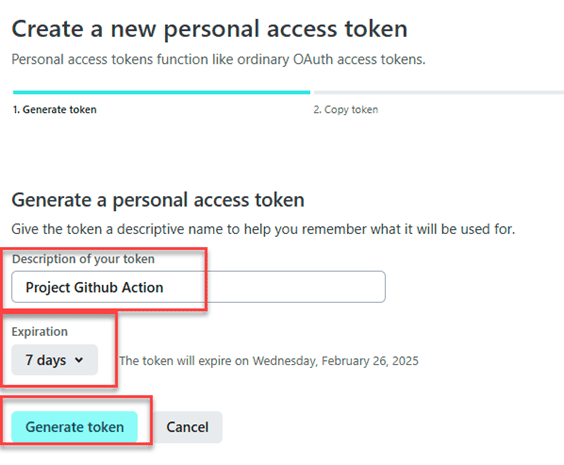
https://app.netlify.com/user/applications#content (opens new window) - Create a new
Personal access token- Give it a meaningfull description, e.g., Project Github Action.
- Choose an expiration that is long enough to last the entire semester.
(For security reasons, it is discourages to set No expiration.) - Click Generate token.
- Copy your
Personal access tokenand add it as a variableNETLIFY_AUTH_TOKENto your notepad file.
NETLIFY_SITE_ID=your-site-id
NETLIFY_AUTH_TOKEN=your-auth-token
2
Everything is now set up on Netlify.
# Set up the GitHub repo
REMARK
Before doing these steps, contact your teacher to give you admin priviledges on your repository. If you don't you will not have the rights necessary to perform these steps.
- Open up your project repository.
- Take a look at the file
.github/workflows/buildAndDeployOnNetlify.yml. This file contains the automation of your deployment to Netlify.
name: Build and deploy to Netlify

# triggers the workflow when a push is made to the main branch
on:
  push:
    branches: [main]

jobs:
  # The job (aka runner) "build_and_deploy" will run on an ubuntu-latest machine
  build_and_deploy:
    name: Build and deploy
    runs-on: ubuntu-latest
    # The job contains four steps that will be executed sequentially
    steps:
      # Step 1: Checkout the main branch
      - name: Checkout main branch
        uses: actions/checkout@v3

      # Step 2: Deploy the site to Netlify
      - name: Deploy Site to Netlify
        uses: nwtgck/actions-netlify@v2.1
        with:
          publish-dir: "./"
          production-branch: main
          github-token: ${{ secrets.GITHUB_TOKEN }}
          deploy-message: "Deploy from GitHub Actions"
          production-deploy: true
        env:
          NETLIFY_AUTH_TOKEN: ${{ secrets.NETLIFY_AUTH_TOKEN }}
          NETLIFY_SITE_ID: ${{ secrets.NETLIFY_SITE_ID }}
2
3
4
5
6
7
8
9
10
11
12
13
14
15
16
17
18
19
20
21
22
23
24
25
26
27
28
29
30
- All steps are explained inside the file but you'll see 3 variables declared in the file:
- GITHUB-TOKEN (is known by github, no need to worry about this one)
- NETLIFY_AUTH_TOKEN (you have saved in the previous part)
- NETLIFY_SITE_ID (you have saved in the previous part)
To make sure that not everyone who has access to your site can see your security tokens, we will need to add them to your project secrets.
- Open your project settings:

- In the side menu, select Secrets and variables -> Actions.

- Add your
NETLIFY_AUTH_TOKENandNETLIFY_SITE_IDas a New repository Secret variable to your project.
(Secrets ensure that sensitive information like tokens is not exposed in your code.)

- Go to the Actions tab in your repository and click on the Update buildAndDeployOnNetlify.yml workflow.
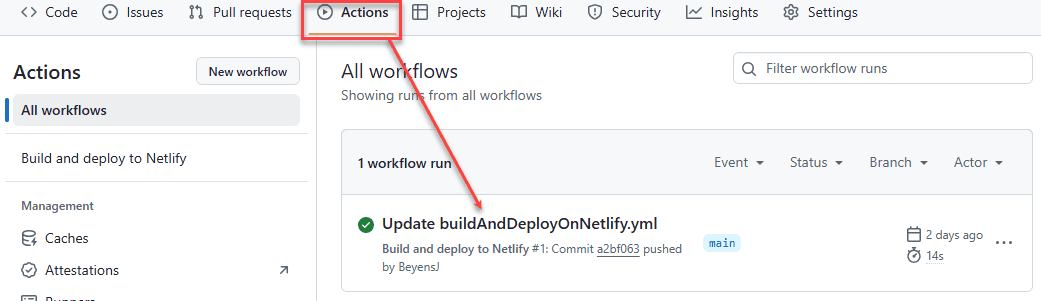
- Click on the Re-run all jobs button to trigger the deployment.
(This is a one-time action, after this your site will automatically deploy on every push to the main branch.)
Done! Next time a pull request is approved and a new commit is pushed to the main branch, your site will automatically be deployed to Netlify.
Be carefully
You site now automatically deploys, make sure that every commit you do to the main branch is actually valuable! You do not want to deploy a faulty site.
This site is public so everyone can see it at all times, don't embarrass yourself and only push working code!
# Custom subdomain
The last step for this project deployment is a change in the subdomain of your site.
- Go back to your netlify site.
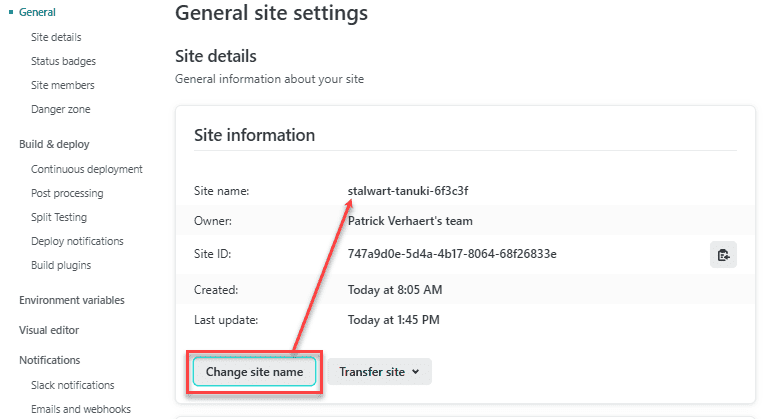
- Click on Site settings to configure your hosting.

- Under Site details you can Change the site name to a more suitable name (if it is still available of course).
# Custom 404 error page
OPTIONAL
This chapter is optional, it explains how to add a normal html & css file as a custom 404 error page.
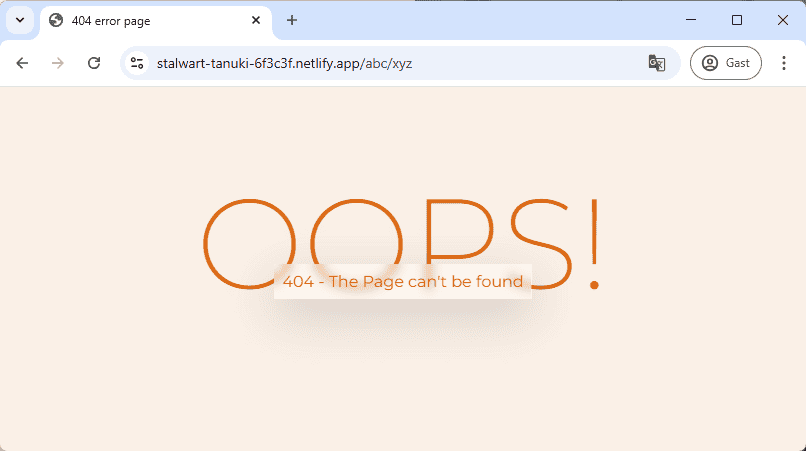
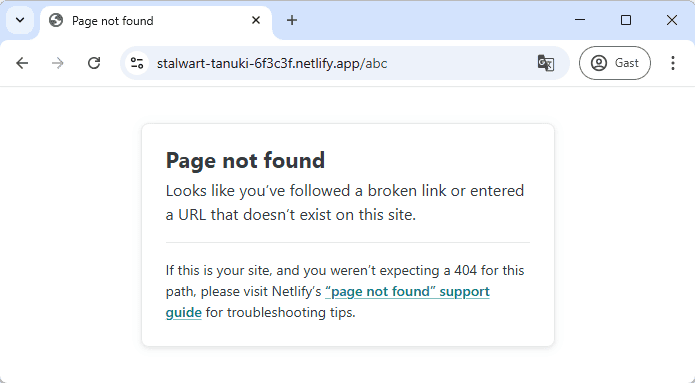
When you access a non-existing page on your website, Netlify serves a default 404 error page with this pop-up:
- To make a custom error page, create a new HTML file 404.html at the root of your site
- Paste the following code in the 404.html file:
<!doctype html>
<html lang="en">
<head>
  <meta charset="UTF-8">
  <meta name="viewport" content="width=device-width, initial-scale=1.0">
  <title>404 error page</title>
  <link rel="stylesheet" href="/common/css/main.css">
</head>
<body id="error404" class=" min-vh-100 d-flex flex-column align-items-center justify-content-center">
  <h1>OOPS!</h1>
  <h2 class="shadow-lg">404 - The Page can't be found</h2>
</body>
</html>
2
3
4
5
6
7
8
9
10
11
12
13
IMPORTANT
- Line 7: always link to the main.css as an absolute path for the 404 error page!
- Line 9: we use the id
error404on thebodytag so we can nest all styles inside this id and not interfere with the other pages.
- Create a new common/css/404.css file and paste the following code:
@import 'https://fonts.googleapis.com/css2?family=Montserrat:wght@200;400';

#error404 {
  font-family: 'Montserrat', sans-serif;
  color: #dd6915;
  background-color: #faf0e7;

  h1 {
    font-size: 5rem;
    font-weight: 200;
  }

  h2 {
    font-size: .7rem;
    font-weight: 400;
    transform: translateY(-3rem);
    padding: .5rem;
    background-color: rgba(255, 255, 255, .3);
    backdrop-filter: blur(5px);
    display: inline-block;
  }

  @media (min-width: 768px) {
    h1 {
      font-size: 8rem;
    }

    h2 {
      font-size: 1rem;
      transform: translateY(-4rem);
    }
  }

  @media (min-width: 1024px) {
    h1 {
      font-size: 10rem;
    }

    h2 {
      font-size: 1.5rem;
      transform: translateY(-5rem);
    }
  }
}
2
3
4
5
6
7
8
9
10
11
12
13
14
15
16
17
18
19
20
21
22
23
24
25
26
27
28
29
30
31
32
33
34
35
36
37
38
39
40
41
42
43
44
- Import the 404.css file somewhere in your main.css file.
...
@import "bootstrap.min.css";
@import "global_vars.css";
@import "404.css";
...
2
3
4
5
- Push your changes to GitHub.
- Test your custom 404 error page by visiting a non-existing page or folder, e.g.
https://<subdomain>.netlify.app/abc/xyz.